Will Insurance Cover a 17 Year Old Roof in Florida? Understand Your Coverage Options
Determining whether your insurance will cover a 17-year-old roof in Florida involves understanding recent legislative changes.
Florida’s Senate Bill 2D, enacted in May 2022, plays a pivotal role in these decisions. Insurers in Florida are not allowed to deny coverage solely based on the age of a roof if it is under 15 years old.

For roofs over 15 years old, you don’t necessarily have to replace the roof to maintain insurance coverage.
Homeowners with roofs older than 15 years can have their roofs inspected and certified to possess at least five more years of useful life. This critical update ensures that even with older roofs, you can potentially avoid the costly expense of premature roof replacement.
Your 17-year-old roof may still be eligible for insurance, provided it passes the necessary inspection.
By staying informed about these updates, you can better navigate your options and ensure your home remains protected under Florida’s evolving insurance regulations. Let us understand more on these with Star Roofing West Palm Beach.
Understanding Homeowners Insurance Coverage in Florida
Homeowners insurance in Florida offers crucial financial protection for your property. Your policy typically covers various perils such as fire, hurricanes, and other natural disasters.
Each peril can significantly impact your home, making it essential to understand your coverage options.
Florida has specific requirements for homeowners insurance, particularly concerning roof age.
Insurance companies cannot deny coverage based on the age of a roof that is less than 15 years old. For roofs 15 years or older, you may need to conduct an inspection to verify its useful life before securing coverage.
Key Points:
- Roof Age: Less than 15 years old: Coverage cannot be denied. Over 15 years old: Inspection required.
- Premiums: Your insurance premiums may fluctuate based on factors like roof condition, home value, and location.
- Insurance Agents: They can help you navigate your policy options and ensure you have adequate coverage.
Typical Coverages:
- Dwelling Coverage: Protects the structure of your home.
- Personal Property Coverage: Covers the replacement or repair of personal belongings.
- Liability Coverage: Shields you against lawsuits for property damage or injury that occurs on your property.
- Flood Insurance: Often a separate policy, crucial for flood-prone areas.
Coverage Types:
- Actual Cash Value (ACV): Pays the depreciated value of your home or belongings.
- Replacement Cost: Covers the full cost to replace your home or belongings without depreciation.
Useful Tips:
- Regularly review your policy to ensure it meets your needs.
- Work with your insurance agent to understand policy details.
- Stay informed about any legislative changes affecting property insurance in Florida.
Ensure that you maintain your home and its roof to comply with your insurance policy requirements and maintain coverage.
Properly documented inspections and upkeep can lead to better insurance rates and fewer complications when filing claims.
Factors Influencing Roof Insurance for Older Homes in Florida
Insurance coverage for older roofs in Florida can be influenced by a variety of factors including the roof’s condition, specific legislation, and considerations related to insurance claims and replacement costs.
Roof Condition and Insurability
The condition of your roof is a significant factor in determining insurability.
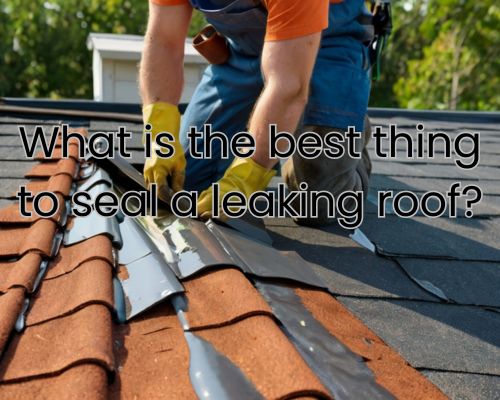
Insurers will require a roof inspection to assess structural integrity, the extent of deterioration, and the useful life remaining.
Important aspects of the roof inspection include:
- Shingle type: Asphalt shingles, metal roofs, gable roofs.
- Structural components: Roof deck, overhang, shape.
- Secondary water resistance: Ensures additional protection against leaks.
“A well-maintained roof can still be insurable even if it is older. An authorized inspector will evaluate if repairs or a complete roof replacement is necessary.” said David Spade of Star Roofing West Palm Beach.
Legislation and Roofing Requirements
New legislation such as Senate Bill 2D has been enacted to influence roof insurance policies in Florida.
Insurers cannot deny coverage based solely on roof age if it is under 15 years.
For roofs over 15 years, the Florida Building Code allows homeowners to undergo an inspection to certify that the roof has at least five more years of useful life.
These legislative changes aim to offer fairer coverage terms and help homeowners comply with updated roof requirements.
Insurance Claims and Roof Replacement Considerations
When filing an insurance claim for a roof over 15 years old, insurers assess the specific conditions of the roof and damage extent.
Key considerations include:
- Hurricane and storm damage: Inspection for wind damage or secondary water resistance issues.
- Repair costs vs. replacement costs: Evaluating labor, materials, and contractor quotes.
- Depreciation and roof deductibles: How insurance policies account for the age and wear of the roof over time.
An insurance claim might result in either repair or full roof replacement. This is influenced by the extent and nature of the damage as well as legislative requirements set by the Florida Building Code.