What is the Best One Piece Gutter System? A Comprehensive Guide
When it comes to protecting your home from rain, gutters are essential. They collect rainwater and direct it away from your home’s foundation, preventing water damage. However, traditional gutters can be a hassle to maintain and clean.
That’s why many homeowners have turned to one-piece gutter systems.
A one-piece gutter system, also known as a seamless gutter system, is a type of gutter that is custom-made for your home and installed in one continuous piece. This eliminates the need for seams, which are often the weak points in traditional gutter systems.
One-piece gutter systems are also designed to be low-maintenance, which means you won’t have to spend as much time cleaning them.
If you’re in the market for a one-piece gutter system, you’ll want to do your research to find the best option for your home. There are several brands and styles to choose from, each with their own unique features and benefits. With Gutter Cleaning near me, we’ll take a look at some of the top one-piece gutter systems on the market and what makes them stand out.
Understanding One-Piece Gutter Systems
When it comes to choosing a gutter system for your home, you have a variety of options to consider. One of the most popular choices is a one-piece gutter system, which is also known as a seamless gutter system. In this section, we’ll explore the benefits of seamless construction, material choices and durability, and design and aesthetic considerations.
Benefits of Seamless Construction
One of the main advantages of a one-piece gutter system is its seamless construction. Unlike traditional gutters that are pieced together, a seamless gutter system is formed from a single piece of material. This means that there are no seams or joints that can weaken over time and cause leaks.
With seamless gutters, you can enjoy a more durable and long-lasting solution that is less prone to leaks.
In addition to being less prone to leaks, seamless gutters also offer a seamless appearance that can enhance the curb appeal of your home. Without any unsightly seams or joints, your gutters will look more streamlined and modern.
This can be especially important if you’re looking to update the look of your home or increase its resale value.
Material Choices and Durability
When it comes to material choices for one-piece gutter systems, there are several options to consider. Some of the most popular materials include aluminum, steel, copper, vinyl, and zinc.
Each material has its own unique benefits and drawbacks, so it’s important to choose the one that best fits your needs and budget.
Aluminum gutters, for example, are lightweight and resistant to rust, making them a popular choice for many homeowners. Steel gutters, on the other hand, are more durable and can withstand harsh weather conditions.
Copper gutters are known for their patina and are often chosen for their quality and durability. Meanwhile, vinyl gutters are affordable and easy to install, but may not be as durable as other materials. Lastly, zinc gutters offer a contemporary aesthetic and are known for their durability and long lifespan.
Design and Aesthetic Considerations
When it comes to design and aesthetic considerations for one-piece gutter systems, there are several options to choose from. K-style gutters are a popular choice for their contemporary aesthetic and curb appeal.
Half-round gutters offer a more traditional look and are often chosen for historic homes or those with a more classic design.
In addition to choosing the right gutter type, you’ll also want to consider color options that can complement the look of your home. Many manufacturers offer a wide range of color choices, so you can find the perfect match for your home’s exterior.
Installation and Maintenance Factors
Professional vs. DIY Installation
When it comes to installing your one-piece gutter system, you have two options: professional installation or DIY installation.
Professional installation is generally recommended, see Gutter Cleaning near me, as it ensures that your gutters are installed correctly and will function properly. However, if you have experience with gutter installation and feel confident in your abilities, you may choose to install your gutters yourself.
If you decide to go the DIY route, be sure to carefully follow the manufacturer’s instructions and take all necessary safety precautions. You will also need to purchase the necessary tools and materials, which may include a ladder, drill, screws, and sealant.
Preventing and Addressing Common Issues
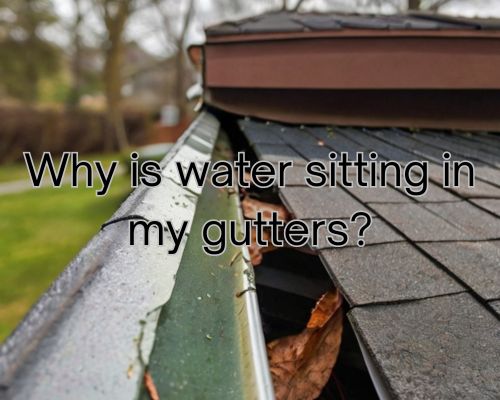
One of the main benefits of a one-piece gutter system is that it is designed to prevent debris buildup and clogs. However, it is still important to keep your gutters clean and free of debris to ensure proper function and prevent water damage to your home’s foundation.
Regular gutter cleaning is recommended, especially during the fall when leaves, twigs, and pine needles are more likely to accumulate.
In addition to regular cleaning, it is important to address any issues with your gutters as soon as they arise. This may include repairing seams, cracks, and leaks, or replacing damaged sections of the gutter system.
If you notice any signs of water damage or foundation problems, be sure to contact a professional gutter installer to assess the situation and make any necessary repairs.
Long-Term Care and Replacement
With proper installation and maintenance, your one-piece gutter system should last for many years.
However, over time, you may need to replace your gutters due to wear and tear or damage.
When the time comes to replace your gutters, make sure to choose a high-quality system that is designed to last.
In addition to choosing a high-quality gutter system, you should work with a professional installer who has experience installing one-piece gutters.
They can help ensure that your new gutters are installed correctly and will function properly for years to come.
Overall, proper installation and maintenance are key to ensuring the longevity and effectiveness of your one-piece gutter system.
By following these guidelines and working with a professional installer when necessary, you can protect your home from water damage and enjoy the benefits of a high-quality gutter system.